
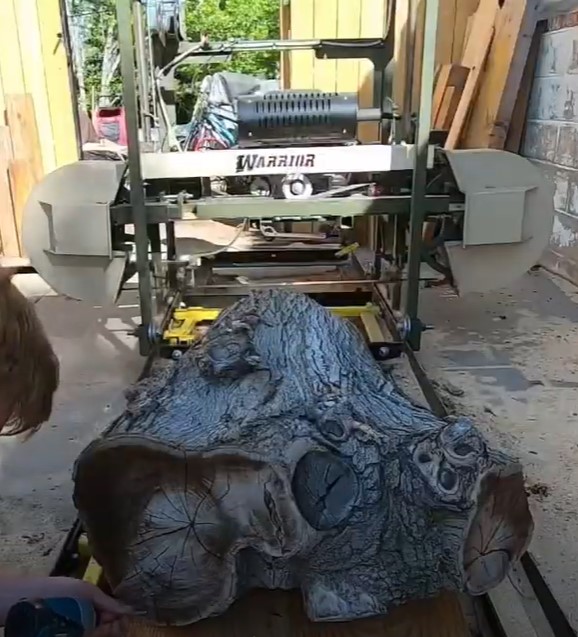
Flattening Wood Slabs on my Hud-Son Forest Equipment Warrior Portable Sawmill
Nick Klaich-Flattening wood slabs on my bandsaw mill
Hi, my name is Nick and welcome to my shop! If you’ve seen any of my prior videos you know that I have a band sawmill setup on my property and one thing that I’ve been really working on recently is trying to perfectly flatten slabs.
One way that I flatten them is with a router. One thing I don’t like about the router is that it creates a huge mess in my shop. They take a while to set up and inevitably you get tear out.
Now I’ve tried numerous different bits I’ve tried steel bits, carbide bits and it seems like no matter how sharp I get them you still get the tear out because of the design of how they work.
Essentially you’re taking a bit and you’re going across the grain of the wood instead of down the linear path like a helical or a sheering segmented cutter head would do so no matter how slow you go you’re always going to get tear out.
So one thing I’ve been working on is trying to flatten slabs on my sawmill. Now the log dogs work well for securing logs for cutting lumber and things like that. When you don’t have a ton of weight the actual force of the bandsaw can pull the piece up out of the dogs. It’s incredibly powerful especially going laterally across the blade.
So what you’ve going to see me do today is put what I’m going to call a spoil board which is 2 two by tens that I glued together. We’re going to secure that down to the mill bed and then I’m going to show you a couple techniques I’ve been working on to get some pieces secure. So essentially no matter what length they are we’ll be able to successfully mill them.
So these bolts that you seem me using these are called beam hangers and I got a pack of 10 off Amazon for pretty cheap. Then it has a little threaded insert where they’ll receive these 3/8 bolts that I will use to secure the spoil board down to the frame of the mill.
So I did say we were going to flatten some slabs but before I pull my slabs out that I want to use on a table. I’m going to do these two crotch pieces and this is just proof that screwing it with these screws is going to work and I’ll get nice flat cuts. Once this works good I’ll be able to do the pieces that I want to do for an upcoming project.
It’s right about now that I’m thinking what a great day. I’m having this new flattening deck is working awesome. I’m getting to see this new wood that I’ve never milled before and then I heard a sound that brings that all to a halt now. You saw me bump whatever I hit in that log a couple times and sometimes if it’s a nail I can just get through. I was a little surprised when I couldn’t get through it with this one so now what you’ll see me do. I tried to mark out where I thought the object was that I hit and you’re gonna see it here it’s a massive bolt so someone put this bolt in this tree a long time ago. I got to be honest, I don’t know how deep it goes from here but I think I’m gonna be done with this piece. It’s probably moving over the log splitter to become firewood because I really can’t risk wrecking another blade for a sawmill slab.
Well it’s never a fun day at the mill when you hit any type of metal in a tree but sometimes that’s just the way that it goes. I’m gonna call today a success as far as proof of concept to being able to flatten slabs on the mill. The next video that you’re gonna see is we’re actually gonna do a start to finish with the elm slabs. We’re gonna book match them to join them together. Weld up a steel base and I’m gonna show you the whole process that I can do to complete a table for an upcoming commission that I have.
So thank you for joining me! If you like what I do please subscribe and have a great day. Thank you!