
Slabber Sawmill, Hud-Son Forest Equipment Oscar 60″ Diameter-Huge Slabs!
Information video on the Hud-Son Forest Equipment Oscar 60 slabber sawmill.
The first thing that you’re going to do when you get your Hud-Son Forest Equipment Oscar 60 is you’re going to get your track in place and level it.
In this particular case your going to bolt the two sections together which is very simple. All your going to do is your going to bring your two sections here bring them together. We’ve got these little ears welded on 3 quarter inch bolts just bring them together. We’ve got two on this side and two on that side. For a total of four.
When your getting ready to do the leveling of the track after you’re bolted it together we’ve installed these levelers here that are inch 3/8’s nut. Real easy way with an impact gun drive it up and down. That is a real quick way to figure out your level and very helpful to you.
So here these yellow tabs these are called track stops and what your going to do is with 2 3 quarter inch bolt and nut. Your going to install them on either side and on both ends. All these are a simple safety feature it just keeps your mill from running off the track and having a castrophic. So make sure you install those once you get your mill.
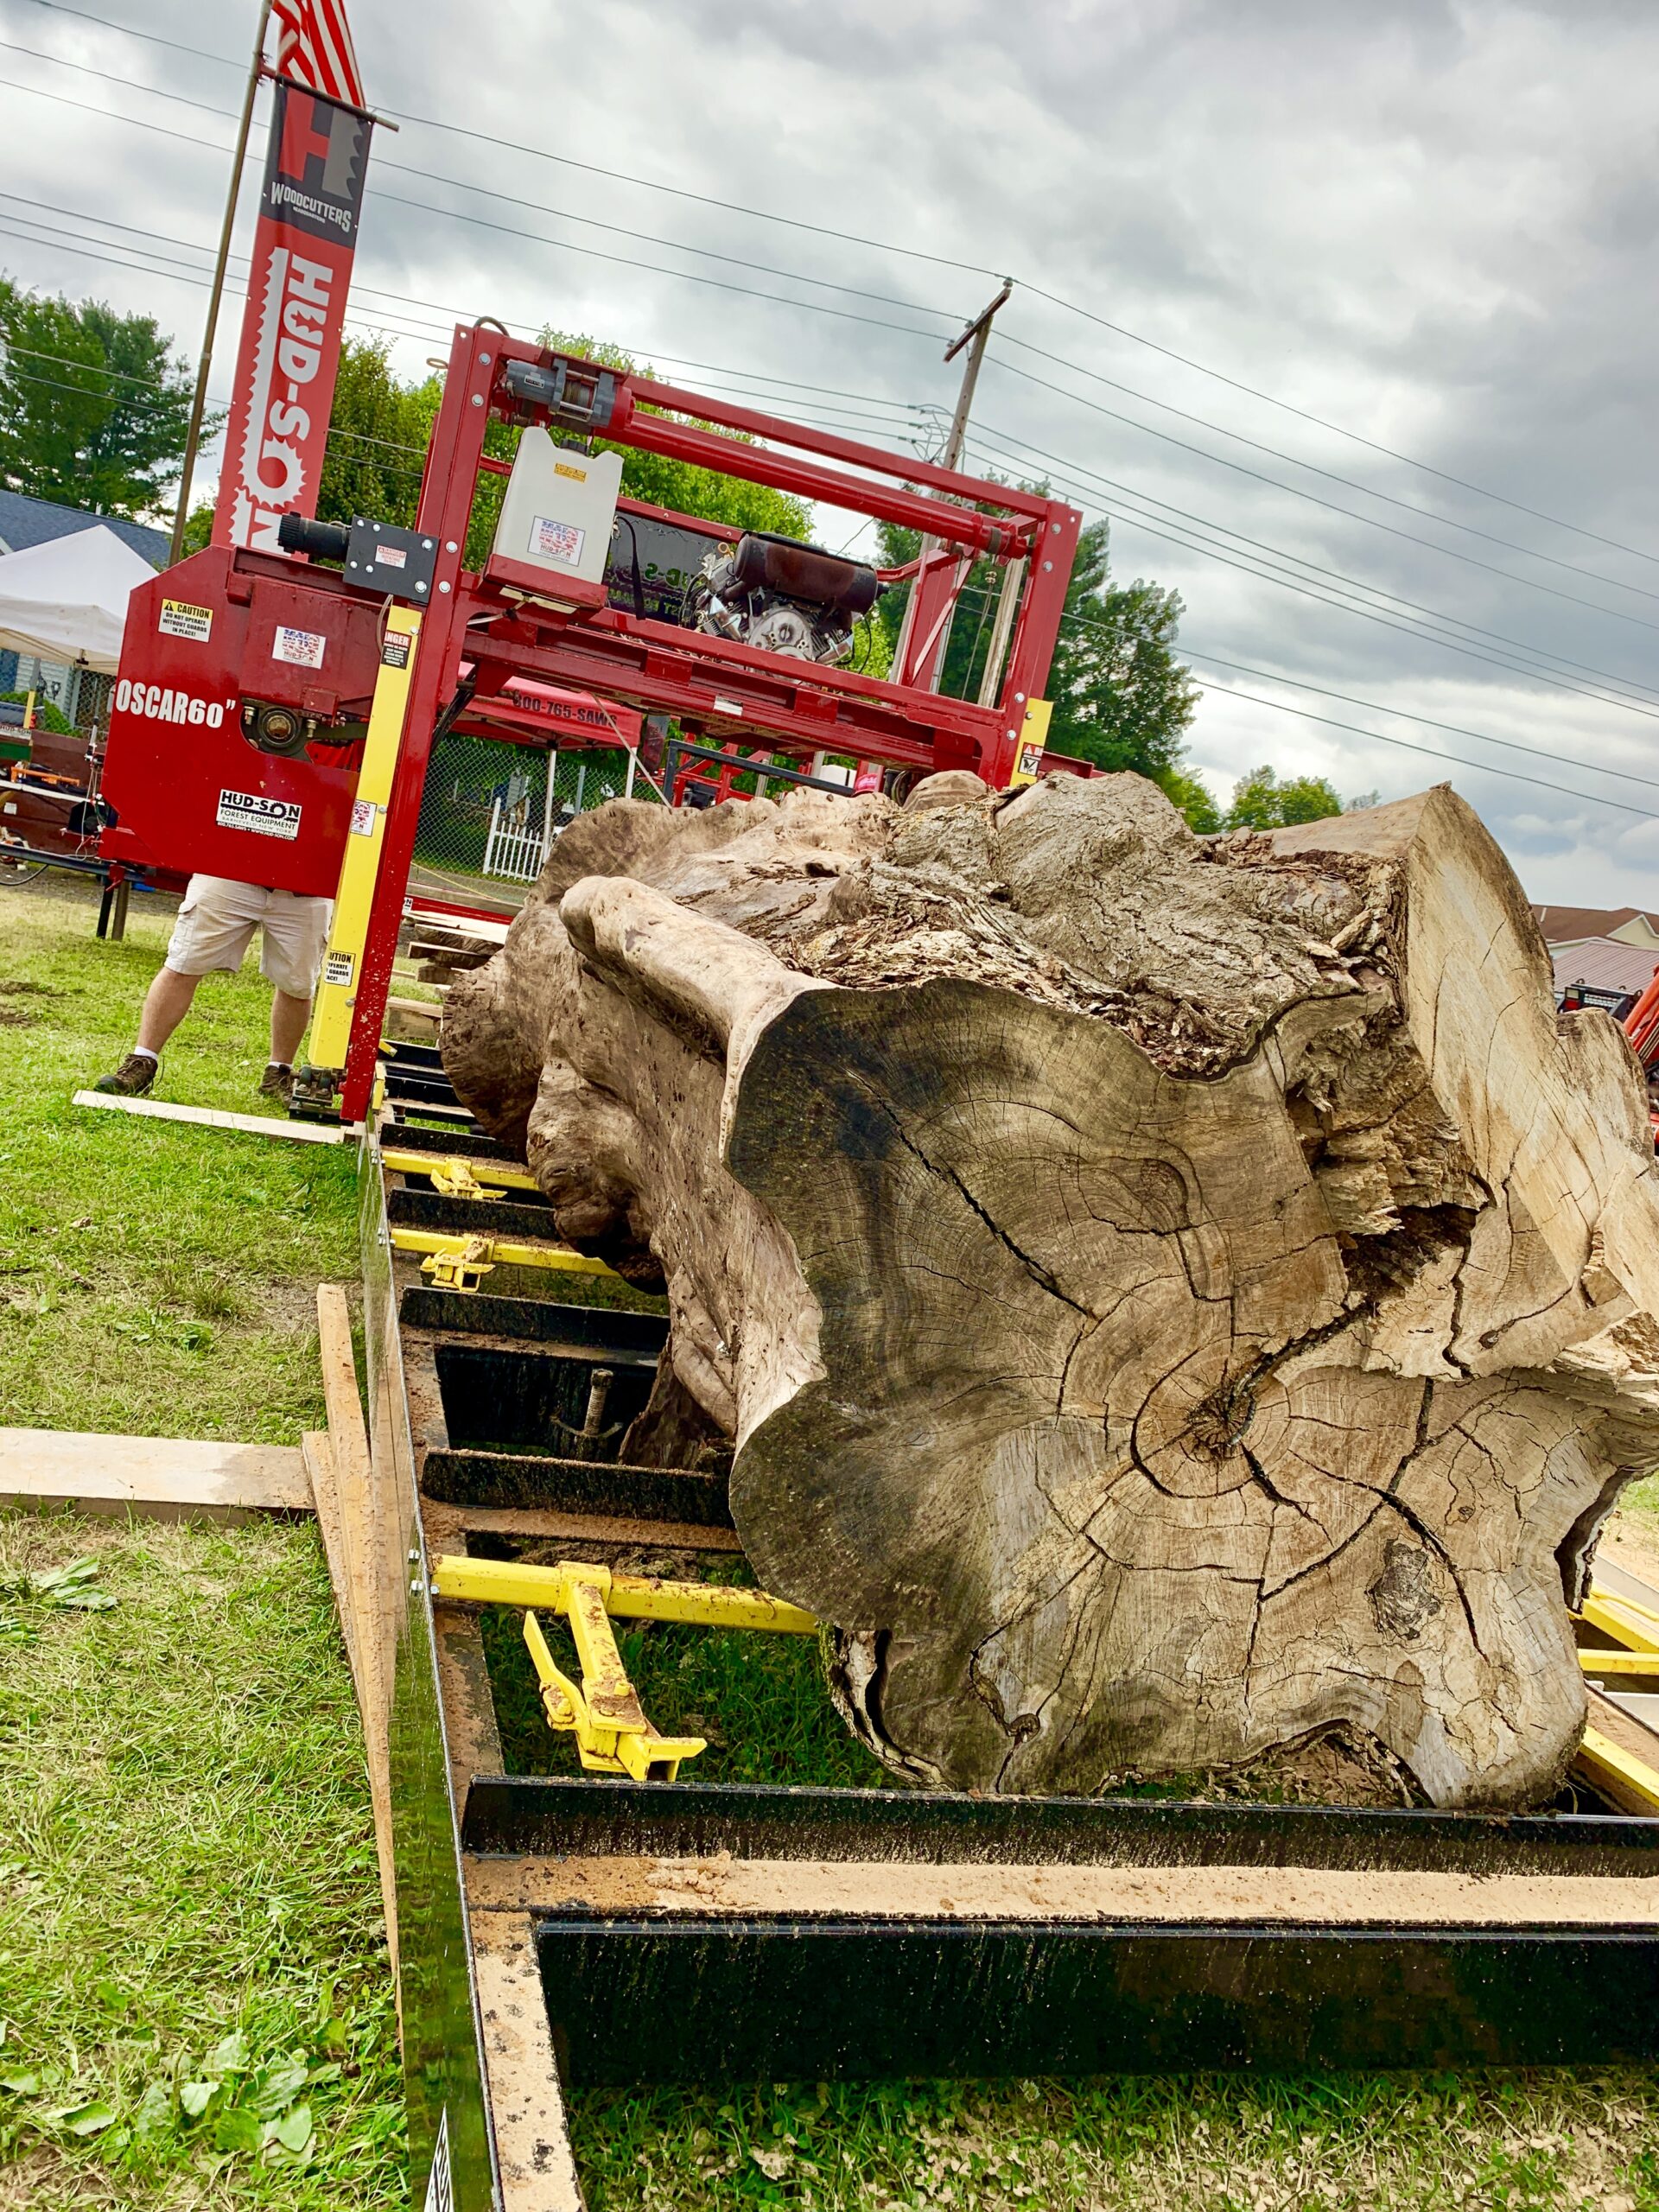
So what were going to do first is if you can picture this your going to be loading your big log onto your track.
One thing I don’t like to see is people using the backstops to catch the logs. So if your dropping your log on try not to use your backstops to roll your log against it.
What we have here is some two and a half inch pocket. What I like to do is I get myself some steal that would fit inside of that. There’s one here. There located on every section. So however long your log is you can get one for each section. Drop your dogs down on that thick, heavy, steel. It wills save you a lot of wear and tear on your sawmill especially on the dogs. So that’s something I wanted to touch on there.
Moving forward once you get your log onto the track the next thing your going to want to do is bring your dog and backstop up. Slide your log tight to your backstop than you would move your dog in and clamp it against the backstop. Now your log is locked in place and it is perfect.
Next were going to go up to the mill and were going to talk about the mill. Getting that situated and ready for milling.
Alright, so here I have my master control. At the end of the day when I’m done milling I want to shut this off and it kills all the power to the whole unit. Here I have my ignition(just a rocker switch), my blade on/off, Up here I have my power feed. I have forward, neutral, and reverse. My speed control is here. Very simple to operate. Very operator friendly.
Alright, so I’m going to show you how to do a quick blade change. First thing I did was I took my inch 3/8’s and took my tension off the blades so the blade is real loose. The next thing I did was I did was take my 9/16’s and I loosed up 1,2, and 3 nuts. So I’m going to go ahead and take those right up.
The trick I’ve always done is I take my wrench stick it in there until I hear a pop, and that’s all I do. Take the guard out. At the same time take the blade off the bandwheel.
Now your going to do the same thing on the other side and I’m going to put my new blade in.
Than after you re-align the band wheels you re-install the band blade. You want to have your band blade hanging off an 8th of an inch off the band blades being that it’s an 1.5 blade.
Make sure before you tension your blade that your blade is in your guides here.
You want to spin your wheels by hand. Approximately three times around by feel.
If your blade is out of alignment. So your blade is riding too far back on the wheel, you would move your front bearing forward. Which in turn would make the blade move back on the wheel. If your blade was riding the opposite way, you would have to move this bearing forward. Which in turn would move the blade this way.
Drive belt tension you always want to keep your drive belts tight. This has two tensioners on this particular unit. The top tensioner is this pulley here. You would loosen this nut and apply force downward on the belt to take slack off. The second pulley is here and you would take that pulley up to take tension off the belt.
To tension the power feed chain you could losen this sprocket and slide this ideal sprocket this way and it will put tension on your power feed chain.