22 Aug Sawmill Olympics and Hud-Son Forest Equipment Patriot sawmill by YouTubers Two Brothers Outdoors
Hello everybody and welcome back to our channel, Two Brothers Outdoors.
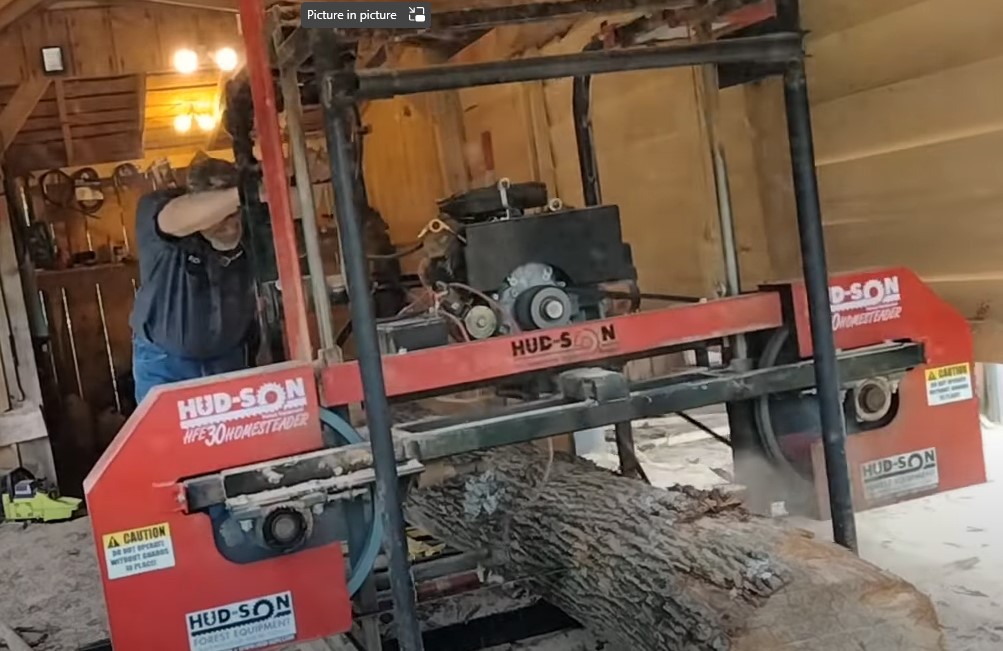
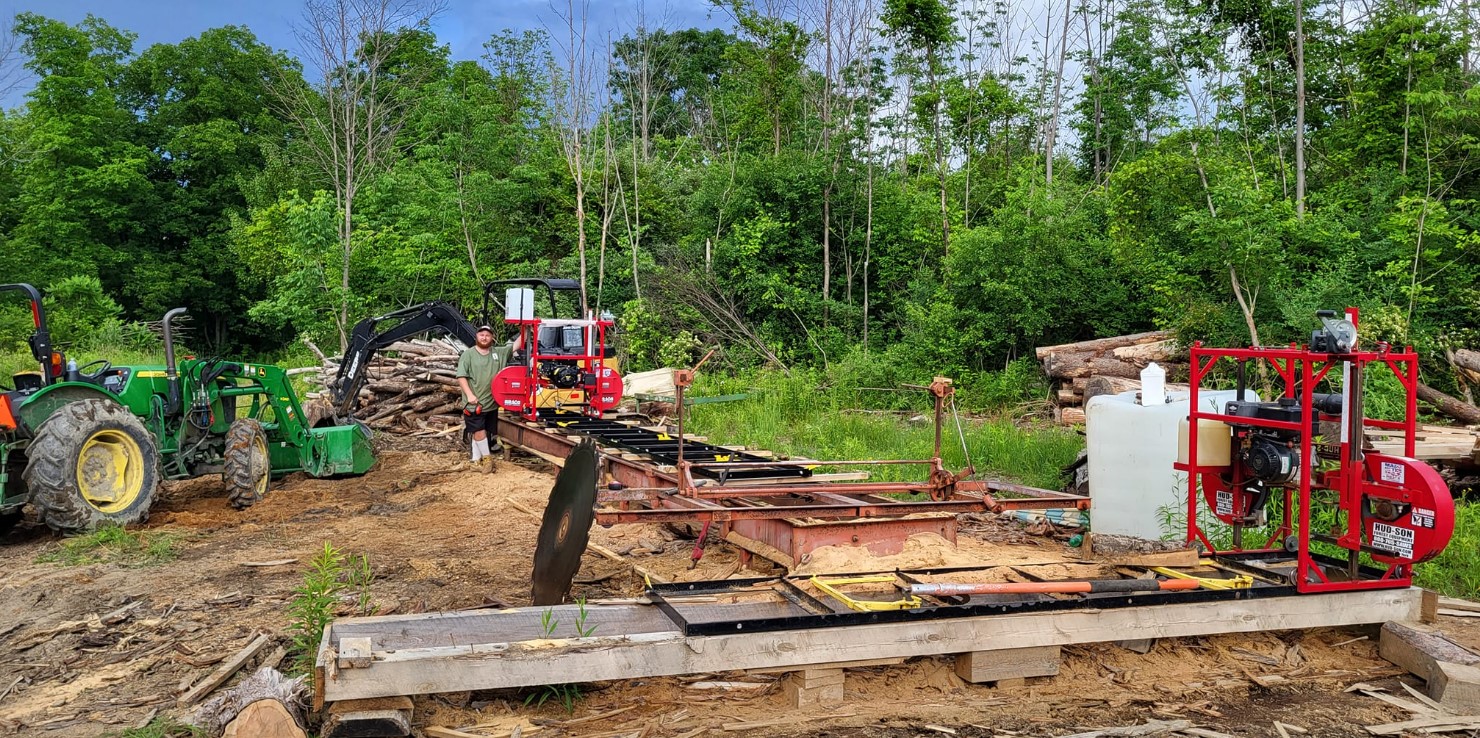
Today Tim’s putting a brand-new blade on his sawmill.
We are entering Tim in “The Sawmill Olympics” as we finish up this order.
He is going to be the Sawyer in charge making all the decisions.
We’ll see how he does.
There’ll be points deducted for screw-ups and there will be points added for extra boards/extra time.
Are you ready for “The Sawmill Olympics”?
Alrighty, let’s get started ladies and gentlemen.
Are you ready?
“LET’S GET READY TO RUMBLE!”
Okay, folks’ contestants will get one practice log to warm up their sawmills.
Okay everybody, as Tim is cutting up that practice log.
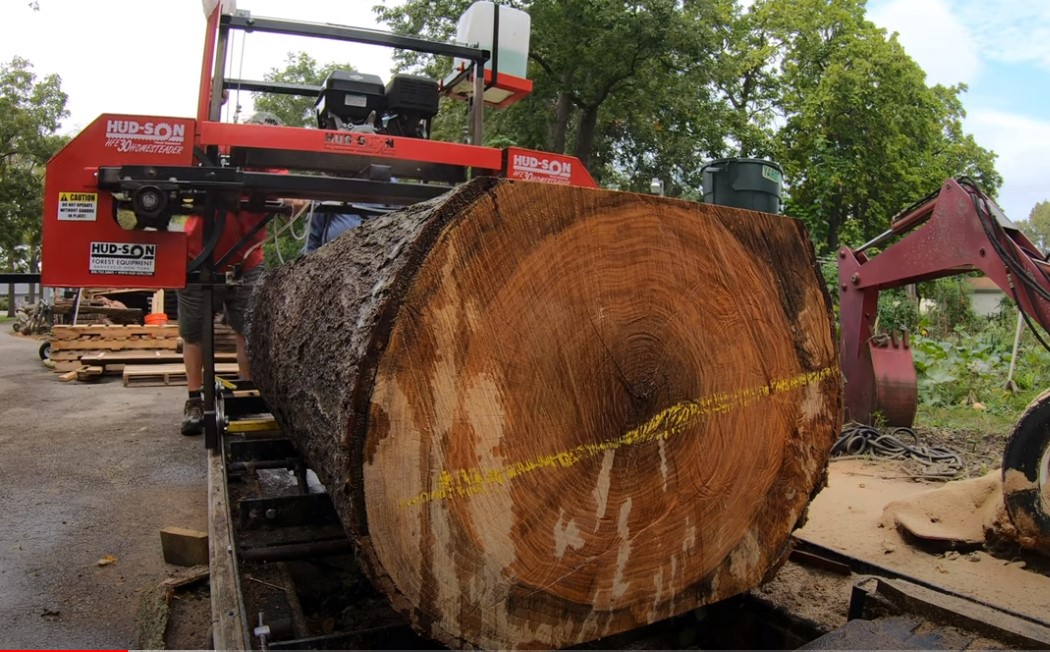
I am going to run over and pick out two perfect logs to not only finish this order, but to give him an edge in “The Sawmill Olympics”.
Folks Tim is trying to decide the best plan of action here.
We need silence from the crowd while he thinks.
Decision, the crowd he made the proper decision!
He came out with a nice flip before he actually gets down to a final cut.
Folks, he remembered to put his toe board down.
Oh, you got a slim cut, not only is that not good for the blade, but we’re going to have to do that.
Points, they’re just skimming the log.
A wasted cut folks.
All righty he’s seriously working fast trying to make up for lost time on the slim cut.
All right folks, that slim cut has thrown him off balance.
He is losing points right and left as it’s taking more time to cut this log than expected.
All right, you cut another half inch off this log, but by cutting the half inch off his log is taking the shallow part of the log where the bark was dropped down.
It was kind of narrow at that spot and we will gain two more boards on that move.
We should make up the points with the boards just in time he’s making up for an extra board.
I figure we’re going to gain another two extra boards out of this log cutting a half inch not slowing the mill down when he backs up.
He’s keeping it revved up and he’s on board.
Very quickly make it up for lost time to make up time.
I’m going to pull the boards off every two boards he makes.
That way he doesn’t have to come up as high to mill to go back again.
We are making up time and we are working like a well-oiled machine!
The time it takes me to take two boards and put them on the pile he’s already cutting his second board.
He is flying folks!! Unbelievable!!!!
He has 12 nine-inch boards out of that log and that’s not even cutting up the flitches.
Please be quiet as we saw in the last log in “The Sawmill Olympics”.
This will be the last chance he has to make up for lost time for miscut and we need complete silence so that he can do his figuring.
No mistakes at this point.
One mistake will throw him back into second place.
It’s marking his line for the final cut on this side of the log so that he doesn’t make a mistake and end up with less boards than is possible.
He wants to get the most out of this log.
All right folks he’s standing, he’s putting his rulers away, he’s checking the tension on the blade.
Unbelievable!!!
The pressure’s on and you can tell it’s taking his toll.
He’s tired.
“The Sawmill Olympics” are a grueling, grueling, grueling, competition.
You can see he’s got this milling that way that’s so he can get more boards out of this log.
He’s going to squeeze more boards out of this log than feasible.
At least he’s trying to the adjustments made and here we go folks.
Final cut of “The Sawmill Olympics”!!!
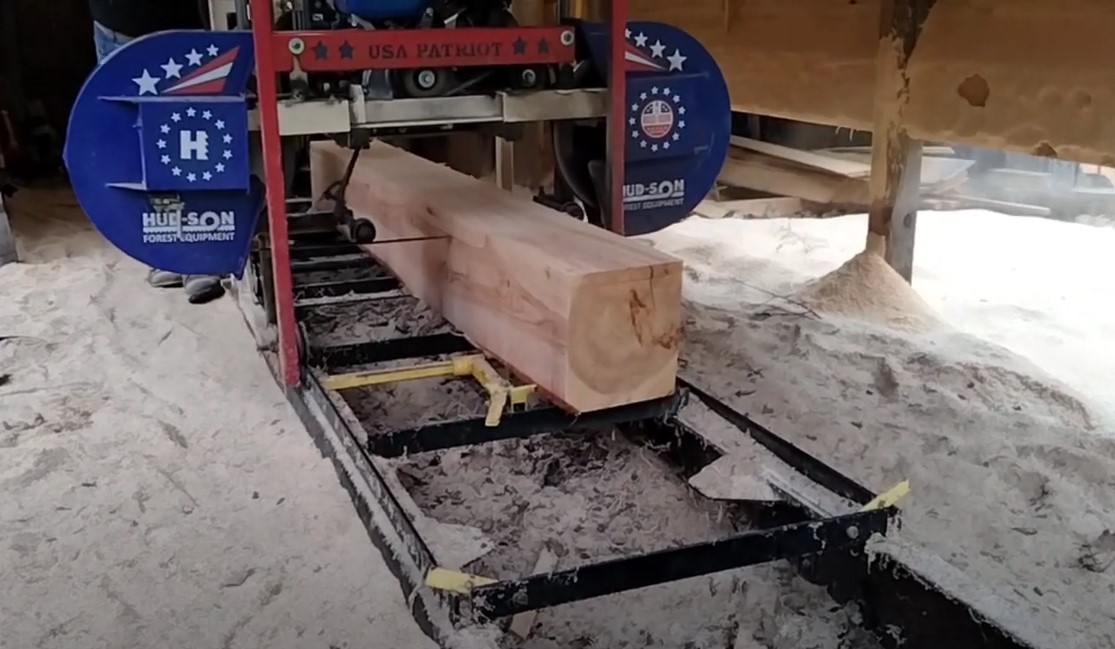
It is a beautiful, beautiful first cut.
It is going to get a nice wide flitch out of that.
He’s going to get an eight-inch board, I’m sure out of that folks and the cap is very, very thin.
Nice cut let’s hear it for Tim!!
Okay he’s lowered the toe board and he’s getting ready to roll the log.
So far it looks really, really good.
Remember folks, he’s making up for lost time, so he’s rolling this log very quickly.
Please be quiet, he’s getting ready to make the calculations on the second face of this log.
One mess up in this cut and he could end up with narrower board than he intended and here we go!!
As we can see on his first cut, he ended up with a nice wide board.
We’re going to get eight inches out of that glitch, and he is doing an excellent job on this wall.
Okay folks, he’s going for a 10-inch-wide board to board up going for as many boards as he can get on this log.
Got 12 on the last one even with the miscut which is a phenomenal number of boards out of that log.
On his first cut here, he comes right down the log, just under the edge of the park it looks like it’s going to be a perfect cut.
Rolling that big log, oh no, it almost fell off the mill.
His legs up, that’s the problem.
He just grabbed on into that log and man held it right over.
What a recovery!
His third cut on this kit was perfect.
All right folks, he ended up a little wobble on that first cut, but it’s not enough to disqualify the board.
As I can say, is a good board.
I’ve removed the boards on top, so the mill does not have to go up as high to go backwards.
and we’re trying to save time to become first place in “The Sawmill Olympics’.”
Now cutting board number six.
All right folks this is board number 8!
He is flying through this cut never seen anything like this on live TV.
He has set the record at 14 boards off of this log!
All right, big round of applause for Tim as he comes in first place in “The Sawmill Olympics!”
They tallied up the board feet and you have gained first place in “The Sawmill Olympics!”
As the first prize winner, you win all these flitches that have to be sewn up come on.
A full firewood rack.
Let’s show the firewood rack that he won.
Come over here.
You must see this rack.
There’s the rack.
I just cleaned that.
Come on, that is the first place prize!
Flitches to be cut and a firewood rack to be sawed up and as a constellation prize we will throw in this sawdust pile.
Thanks, all right guys if you’re not subscribed to our Channel hit that subscription button and give us a thumbs up.
You’re going to like Timmy for all of this like like like and don’t forget notifications.
All right guys until the next one we will see you later!!
YouTubers Two Brothers Outdoors
#hudsonforestequipment #hudsonforest #hudson #forestry #forest #nature #tree #trees #forests #naturelover #forst #mountains #wildlife #woods #outdoor #outdoors #landscape #log #logging #logger #forestryequipment #timber #treesurgeon #wood #woods #husqvarna #arblife #treeservice #treecutting #treefelling #treecare #treeremoval #log #logs #logger #loggerlife #lumberjack #lumberjill #stihlchainsaw #forestrymachinery #loggingequipment #forestrymulching #forestmachine #forestryattachments #equipmentoperator #heavymachinery #landclearning #loggingmachinery #equipmentdealer #woodproducts #trailer #equipment #forestryfirst #skidder #chipper #logloaders #loggingtruck #construction #excavator #constructionequipment #caterpillar #heavyequipmentlife #earthmoving #excavation #machinery #demolition #earthmover #dirtlife #skidsteer #operator #heavyduty #wheelloader #machine #trucks #dirtwork #caterpillar #excavator #excavation #woodworking #woodworker #woodwork #hardwood #softwood #lumber #liveedge #timber ##reclaimedwood #liveedgewood #woodpreneur #hickory #walnut#whiteoak #mahogany #parota #clarowalnut #purpleheart #chinaberry #blackwalnut #teak #redoak #redwood #pecan #guibourita #goncaloalves #gafricianmahogany #maple #poplar #ipe #norfolkislandpipe #sapele #olive #longleafpine #sawmill #sawmills #portablesawmill #portablesawmills #wood #woodworking #sawmillbuisness #lumber #logging #liveedge #woodworker #forestry #slabs #bandsawmill #bandmill #woodshop #hardwood #reclaimedwood #liveedgewood #loggers #diy #urbanlogging #logginglife #chainsaw #chainsaws #skidder #skidders #sawmilling #eastcoastloggers #furniture #smallbusiness #liveedgeslabs #liveedgeslab #liveedgetable #walnut #lumbermens #urbanlumber #loggelife #tree #lumberjack #lumberyard #logger #bandsaw #milling #logs #salvagedwood #reclaimedwood #woodpreneur #southernlogging #woodmilling #woodslabs #klin #klindried #chainsawmill #rusticfurniture #cabin #cabinkit #epoxytables #sawdust #stihl #husky #arborist #arborists #stihlpower #woodcutter #woodcarver #loggers #tree #trees #slab #slabber #slabbersawmill #stormdamage #waterdamage #firedamage #propertydamage #flooddamage #haildamage #hurricandamage #tornadodamage #winddamage #roofdamage #homedamage #roofing #restoration #insuranceclaim #storm #disasterrelief #disaster #disasterrecovery #naturaldisaster #disastermanagement #emergency #flood #hurricanseason #emergencyprepardness #tsunami #tornado #hurricane #flooding #gail #wind #rain #stormsurge #fire #heavyequipment #construction #excavator #heavymachinery #caterpillar #cat #digger #machinery #demolition #bulldozer #dozer #komatsu #hitachi #johndeere #newholland #kubota #911 #rescue #emergencycleanup #businessowner #familybusiness #smallbuisness #business #familyowned #familyownedandoperated #smallbusinessowner #womeninbuisness #americanmade #madeinamerica #madeintheusa #madeinusa #usa #metal #manufacturing #job #jobs #industry #company #steel #production #engineering #smallbuisness #shoplocal #family #localbuisness #entreprenunal #usamade #americanmanufacturing #manufacturer #manufacturingjobs #tractor #tractors #PTOtractor #ptotractor #tractorattachment #tractorattachments #skiddingwinch #forestrywinch #loggingwinch #winch #tractorwinch #logging #forestry #masseyferguson #fendt #farmtractor #farm #farming #farmers #agriculture #farmer #farmlife #traktor #harvest #equipment #forestryequipment #forest #logger #timber #wood #loggers #forests #trees #tree #chainsaw #treework #agriculture #treecutting #treeremoval #loggerlife #landclearing #forestrymaintenance #homeownership #homemaintenance #preopertymaintenance #treefarm #land #landclearing #property #grapple #land #homestead #homesteader #homesteading #farming #farmlife #farmers #farm #fendt #agco #agri #tractores #johndeeretractor #fordtractor #newhollandtractor #biggreentractor #tractorlife #firewood #wood #fire #logs #winter #heating #heatsource #forestry #woodstove #tree #forest #home #homeheating #woodprocessor #firewoodprocessor #firewoodprocessing #woodpile #blockbuster #builtrite #timberwolfe #dyna #multitek #cordking #bruteforce #wallenstein #rabaud #krpan #thor #hakki #gandini #uniforest #collins #pilkemaster #bilke #balfor